How to Install LED Screen Panels?
LED screen panels are modern display technologies that provide high-quality visuals, commonly used for commercial purposes. These panels are typically employed for advertising, event management, conferences, and large-screen applications. The installation of an LED screen panel must be done carefully and correctly, as these panels are usually large and heavy. In this guide, you will find detailed step-by-step instructions for the installation and maintenance of LED screen panels.
Preparation for LED Screen Panel Installation
a. Determining Needs
Before starting the installation process, it’s important to determine the specifications, dimensions, and mounting type of the LED screen panel you plan to use. Factors such as the size of the installation area, the screen’s resolution, brightness level, and other technical features are crucial.
b. Tools and Equipment
Here are the basic tools required for installation:
- Set of screws and anchors
- Electrical wires and connection cables
- Height measuring device
- Drill and screwdriver
- Mounting accessories
- Cable management clips
- Safety gear (helmet, gloves, glasses)
Preparing the Installation Area
a. Measuring the Area and Planning
Before installation, measure the area where the LED panel will be placed. Ensure the space can accommodate the size and weight of the screen. Also, plan the paths for cable routing.
b. Preparing the Wall or Structure
LED screen panels are usually mounted on walls or specially designed frames. Ensure the surface you are mounting the screen to is solid and stable. If necessary, use a metal structure or sturdy frame for mounting. Once the wall is ready, drill holes for mounting the panel.

Mounting the LED Screen Panel
a. Installing the Mounting Brackets
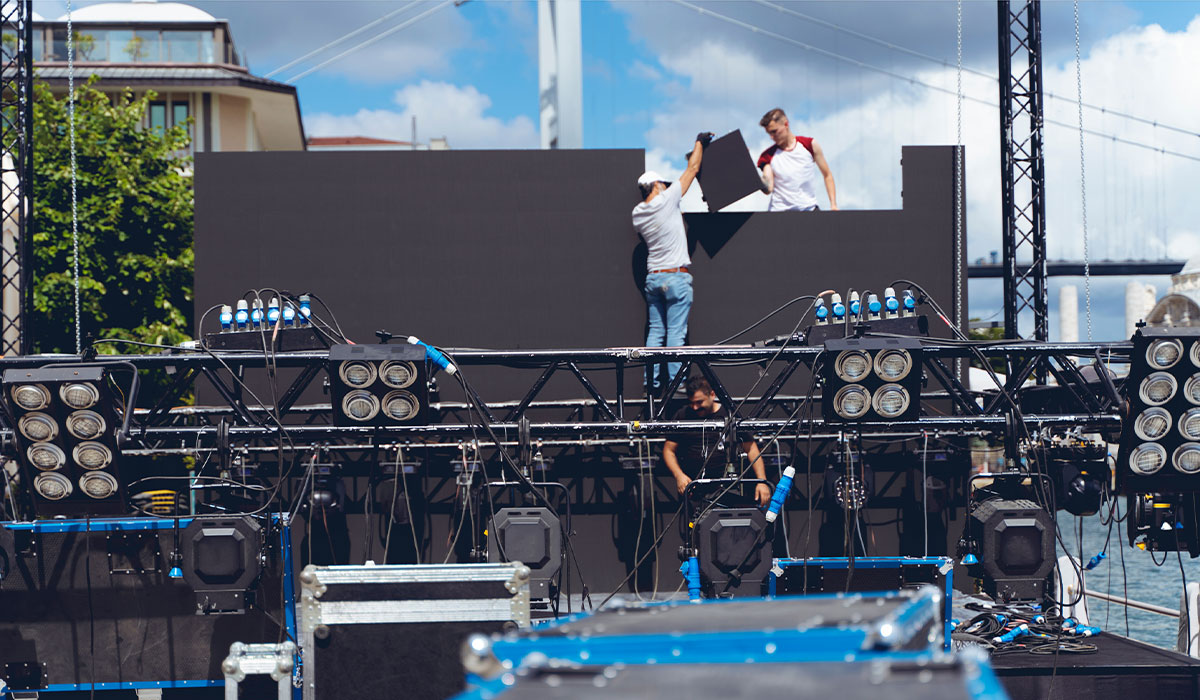
To mount the LED screen panel, appropriate mounting brackets should be used. These brackets are typically attached to the back of the panel and then mounted on the wall or frame. Ensure the brackets are securely attached and aligned properly. These brackets will help to hold the screen in place.
b. Mounting the LED Screen
Carefully place the LED screen onto the brackets and secure it with screws. Make sure the screen is mounted evenly, as any slippage or tilting can affect the display quality. Tighten all the screws properly to ensure a secure fit.
c. Connecting the Electrical Cables
LED screen panels typically require multiple electrical connections: power cables, signal cables (HDMI, DVI, etc.), and cooling system connections. Locate all the connection points at the back of the screen and connect the appropriate cables. Ensure all cables are routed properly and securely connected.
Testing the LED Screen
a. Initial Test and Startup
Once the installation is complete, turn on the LED screen and perform an initial test. Check whether the screen is functioning correctly, with accurate colors and brightness. Inspect the screen for any defects or issues. If there is no display, recheck the electrical connections.
b. Testing the Signal Connections
Test the signal connections by checking if the display receives the signal from the connected devices (e.g., HDMI, VGA). Ensure there are no signal losses or distortions. If issues arise, recheck the signal source and the cables.
c. Calibration and Adjustments
Adjust the screen’s color, brightness, contrast, and resolution settings as needed. Make these adjustments according to the intended use of the screen, such as for video, graphics, or text display.
Maintenance of LED Screen Panel
a. Cleaning
Cleaning the LED screen is crucial to extend its lifespan. Use a microfiber cloth to gently wipe the screen. Avoid using chemical cleaning agents, as they can damage the surface. Be cautious when cleaning the edges to avoid harming the cables and connection points.
b. Checking the Cooling System
LED screens can overheat after prolonged use. Check the cooling fans at the back of the panel to ensure they are functioning properly. If dust has accumulated, clean the fans. A malfunctioning cooling system can shorten the lifespan of the screen.
c. Inspecting Cables
Over time, cables may wear out or become damaged. Regularly inspect the cables to ensure they are intact and properly secured. Avoid kinks or bends in the cables, as these can cause performance issues.
d. Periodic Inspections
Periodically check the display quality, brightness, and overall performance of the screen. Test the electrical connections and ensure there are no loose or frayed wires.

6. Troubleshooting LED Screen Panels
a. No Display
If the screen is not displaying anything, check the electrical connections first. Ensure the panel is receiving power. Also, verify the signal cables (HDMI, VGA, etc.) and their connections. If the issue persists, there might be a problem with the internal hardware of the panel.
b. Color Distortion or Pixel Errors
If you notice color distortion or pixel errors on the screen, it may be a calibration issue or hardware malfunction. Try recalibrating the screen or updating its software. If the problem persists, the panel may need to be repaired or replaced.
Tips for Long-Term Use of LED Screen Panels
- Use Surge Protection: To protect the screen from power surges, use a power regulator or surge protector.
- Regular Maintenance: Clean the screen regularly and perform periodic checks to ensure everything is functioning properly.
- Adjust Brightness Levels: If necessary, adjust the brightness to match the environment to prolong the lifespan of the screen.
The installation and maintenance of an LED screen panel can be relatively straightforward if the correct steps are followed. However, attention to detail is important. Proper preparation of the installation area, accurate mounting, and secure electrical connections are essential. Regular maintenance, including cleaning and inspections, helps ensure the longevity and optimal performance of the screen.
Post time: Mar-25-2025


